Table of Contents
What is an RV Slide Out Awning?
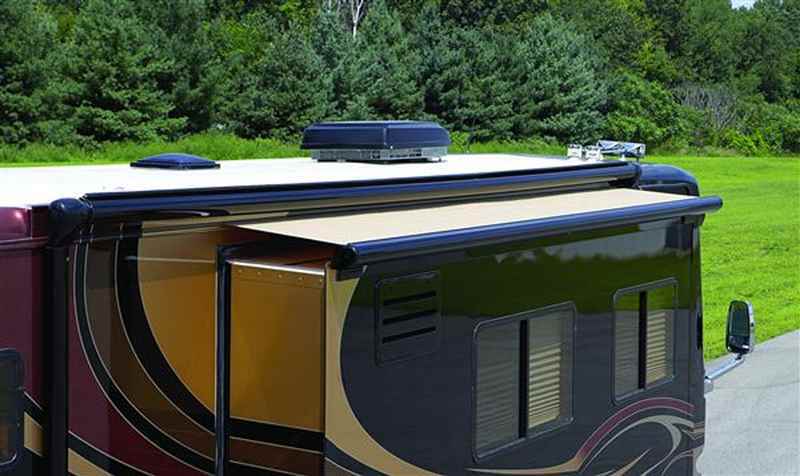
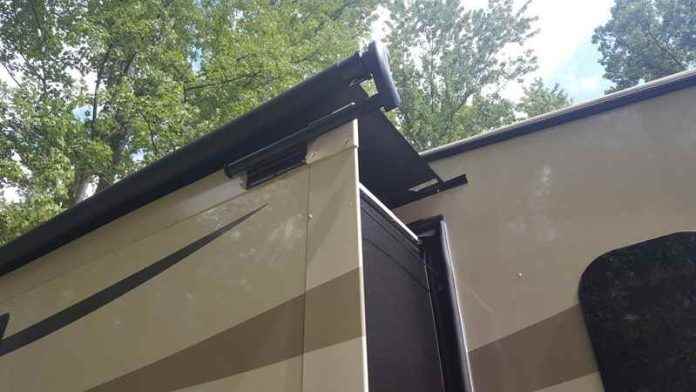
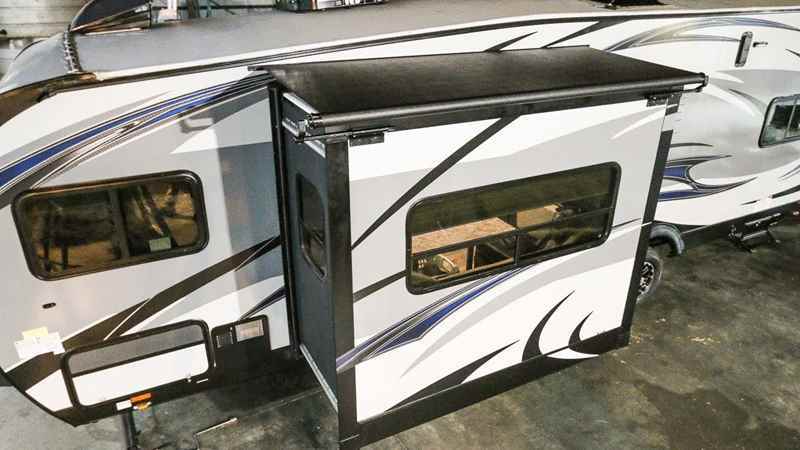
RV slideout awnings, or slide toppers, are often overlooked but they are an essential part of keeping your RV slide-outs in the best possible shape. But what exactly is an RV slide-topper awning? Simply put, a slide-topper is a protective cover designed to go over the slide-out sections of your RV to protect your RV slide-out from the various elements that may cause damage to the slide-out.
Now we know what you’re thinking, “does this mean I have to take my slide-topper off every time I retract my slide-out?”. luckily, the answer to that question is no. A slide-topper awning is a specially designed cover that extends and retracts with the RV’s slide-out.
What are the benefits of Slidetopper Awnings?
Slideout Awnings plays a significant role in preserving the lifespan of your RV’s slide-outs. They shield the slide-outs from natural weather elements such as heavy rain, snow, high winds, and powerful sun rays. Without a slide topper protecting your RV slide outs, it becomes open to some significant and expensive damages, such as water damage and discoloration.
A slide topper can also protect your RV slide-out from other elements, such as branches, leaves, twigs, bird droppings, and more. Although these elements might not seem like much, they can also cause some problems for your RV, such as causing mould, mildew, and dirt to find their way into your RV.
Overall, investing in a high-quality RV slide-topper awning is an effective way to prolong the life of your RV, ensuring your RV slide remains in top condition for all your future travel experiences.
What do I need to know to get a Slide Out Awning?
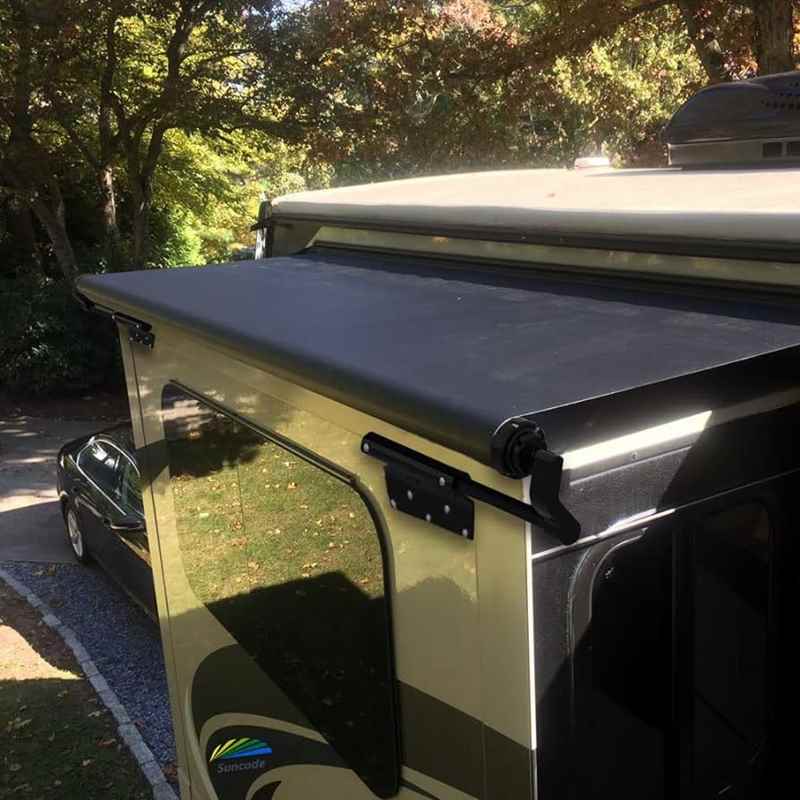
Now that we have established what an RV slide topper is and why they are so important, you might be interested in getting one for your type of RV. Before purchasing one, there are a few factors you have to consider to make sure you get the right slide out awning for your RV.
Price
Price is another critical factor, as everyone has a budget. Slide-out toppers can range from a few hundred to over a thousand dollars depending on their material, size, design, and brand. Although Slide toppers can be expensive at first, remember, investing in a high-quality topper can save you money in the long run by protecting your RV from potential damage.
Types of Slide-Out Toppers:
Another factor to consider is the mechanism for extending and retracting the slide topper. There are manual and electric options available. Manual slide toppers require manual operation to extend or retract, while automatic slide toppers can be controlled with a switch or remote. Electric slide toppers offer convenience but may come at a higher cost.
Size:

Unfortunately, a majority of slide out awnings today aren’t universal, which means you will have to measure your RV slide to make sure the one you pick will have the appropriate fit. There are three measurements you’ll want to take of your RV slide to ensure you don’t run into any problems when you receive your new slide topper:
- measure the overall width of your RV slide room
- Measure the overall width of the slideout flange, which is the thin metal frame that sits around the edge of the slideout
- Measure the height from the top of the slideout “room” to the top of the top flange
Colour:
The colour of your new slide topper can be an important factor in how the overall setup looks to others and yourself. Two factors to consider when deciding on a fabric colour are what you personally favour and what fits your RV best. Most Slide toppers come with either a black or white frame and fabric, so finding the right match for your RV should be a breeze.
Brands:
Lastly, research different brands and read customer reviews to ensure you choose a reputable manufacturer that offers quality products and good customer support. Brands such as Solera by Lippert, Dometic, and Carefree of Colorado are widely known across the RV industry and are some of the best and most trusted brands for RV slide toppers.
How to Install and Maintain an RV Slide Out Awning
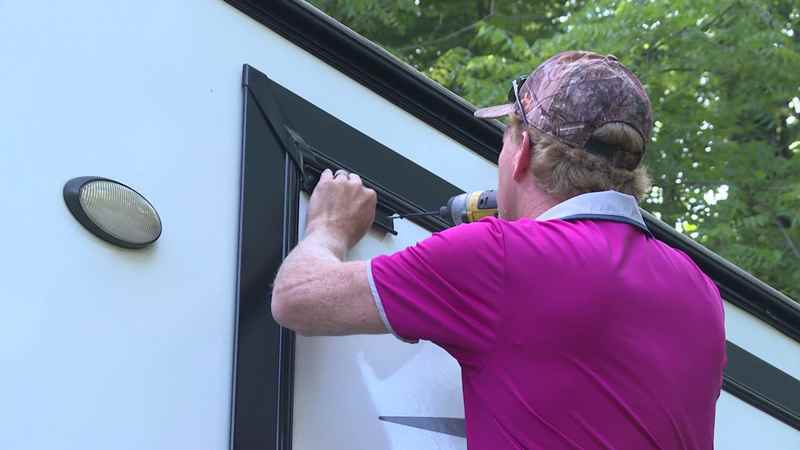
Installing an RV slide out awning can seem like a very difficult and confusing task at first sight. However, with the right tools and instructions, installation of a new RV slide out awning can go from difficult to a breeze. Here is your guide to properly install your new RV slide topper, as well as tips for cleaning and maintaining it.
Tools:
Before you start to install your RV slide topper, there are a few tools you will need to make the job get done fast and correctly.
Firstly, installing an RV slide out awning can be done a lot faster and easier with some help. We recommend finding a family member or friend that can assist with the installation process. Although slide toppers do come with installation hardware, it doesn’t come with everything you’ll need. the following tools are ones that are needed for most instillations for slide toppers.:
- 1-2 ladders
- putty tape, adhesives, or sealant
- a non-permanent marker
- scraping knife
- drill
- Allen wrenches
- screws
Make sure to check the installation manual for your slide topper to confirm every part you need and sizes when necessary.
Step-by-Step Guide on How to Install RV Slide Out Awnings
Step one: Applying the rail
Once you have your topper, install the awning rails on the side of the RV, ensuring it is level and at the correct height. you will want to position the rail above where the roof and wall meet. Once you have this position set, mark where the awning rail will go with a non-permanent marker and apply putty tape or an adhesive along this area and apply the rail. you can then apply the screws that come with your slide topper to hold it in place.
Once your awning rail is installed, use a knife to scrape off any extra tape or glue around the rail.
Step two: applying the awning plates and brackets
Now that you have your awning rail in place, it is time to set up the brackets, as these brackets will later be used to hold up the awning roller tube. Attach the brackets to the slide-out and align them with the rail. make sure to check your instruction manual for your new slide topper to ensure that you have the brackets in the right position.
With the help of another person, roll out the topper and secure it within the brackets and rail.
Step three: Secure
Once your new slide topper is in place, tighten all the hardware and check the operation of the topper to ensure it extends and retracts smoothly. This step is a very crucial one. checking the hardware prevents any damages being caused to the slide topper or your RV itself. This step will also ensure that your slide topper is ready to be used when you want to use it.
For more information in installing an RV slide topper, check out this great step-by-step video guide from Lippert:
Maintenance and Cleaning Tips for Long-Term Performance
Inspect:
Regularly inspect your topper for any signs of wear and tear, such as rips or tears in the fabric. as well, make sure to check over all the hardware for the awning for any signs of rust or any other damages. If you do happen to come across any of these, make sure to address them as soon as possible. Having damages to your slide-out awning and leaving them too long can lead to inconvenient and costly repairs down the road
Cleaning:
Cleaning your topper is also crucial. make sure to remove any debris, such as leaves or twigs, and wash the fabric with mild soap and water. debris such as leaves and twigs run the risk of making rips and tears in the fabric of the slide-out awning.
Avoid using harsh chemicals as they can damage the fabric. Allow the topper to dry completely before retracting it to prevent mould and mildew.
Maintaining:
Lastly, lubricate the moving parts regularly. We recommend using a silicone-based lubricant on the roller tube, bracket assemblies, and the ends of the lead rail. This step will ensure smooth operation and prevent rust.
By following these installation and maintenance tips, your slide-out awning can remain in top shape, ready to shield your RV from nature’s wrath for many adventures to come.
What do I do if there is damage to my RV slide topper?
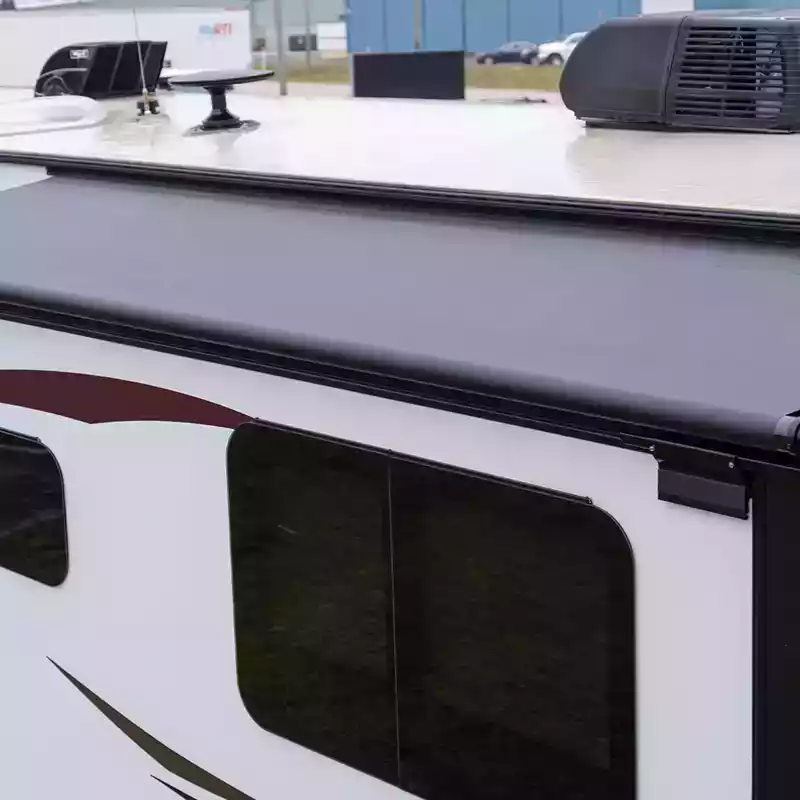
If there is damage to your RV slide topper, it is important to address it as soon as possible to prevent further issues. Here are some steps you can take:
1. Assess the Damage:
The first step when you discover damages to your RV slide topper is carefully inspect the slide topper to determine the extent of the damage. Some damages you may encounter include rips, tears, or holes in the fabric, as well as bent or broken hardware in areas such as the arms and roller. If the issue is just with the fabric, it is not a problem to replace it. A good choice is the Recpro RV slide out awning fabric only.
2. Temporary Repairs:
If you find damages on your slide topper, regardless if they are minor or major they should not go untreated. you can make temporary repairs to prevent it from getting worse while you work on finding a permanent fix. If you find a tear or hole in the fabric, a patch kit specifically designed for RV awnings to cover any holes or tears in the fabric is a good option, but not a permanent one
3. Contact a Professional:
Whether you have been RVing all your life, or are just starting today, there is no shame in seeking assistance. There are many professional RV repair services and dealers out there who would be more than happy to assist with getting your slide topper looking and functioning at its peak.
Keep in mind, not all parts for slide toppers parts are sold by themselves. Depending on the damages themselves, a professional might advise replacing bigger parts, such as the arms, or even the whole awning if necessary.
4. Insurance Coverage:
Depending on your RV insurance policy, the damage to your slide topper may be covered. Contact your insurance provider to inquire about the coverage and process for filing a claim.
5. Prevention:
Once the damage is repaired or the slide topper is replaced and is looking good as new, it is important to keep it that way for as long as possible. Following the maintenance tips mentioned earlier to ensure its longevity and can save you a lot of money in the long run.
Best RV Slide toppers
Now that we have gone over everything there is to know about slide toppers, the final decision is to decide which brand/model you want to go with. With plenty of options in the market, this can be an overwhelming choice. That’s why we have put together a list of the top-rated RV slide toppers on the market.
Carefree Alpine Slideout Cover

The Carefree Alpine Slideout Cover is one of the most affordable and easy-to-install slide toppers on the market today. Its lightweight and easy-to-install design makes it an easy and convenient option for anyone looking to protect their RV or motorhome. this slide topper also comes in a black and white design, making it an easy option to match with your RV.
Dometic Deluxe slide topper
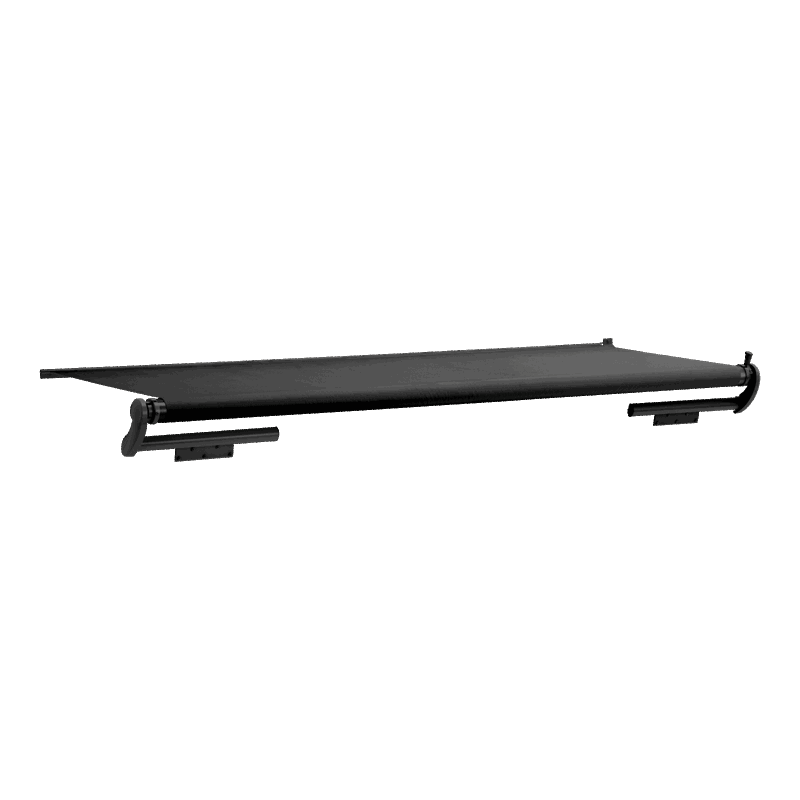
If you are looking for a quality side topper for your RV, the Dometic Deluxe Slide Topper is a good option for anyone. This slide topper is great for protecting your RV slideout from lots of harmful debris, such as water, branches, leaves, and more. It also comes in a lightweight design, which helps keep your RV as cool as it can be.
Solera 5000 Series Slide Topper

The Solera 500 Series Slide Topper is another great option for those looking for an extra layer of protection for their RV. These Solera slide toppers are able to protect your RV from various different debris and outdoor elements that leave your RV open to damage. With various sizes available, Lippert strives to make sure that there is a Solera 5000 Series Slide Topper that fits your rig.
Don’t miss out: Safeguard Your RV Against Nature with RV Slide Toppers
As we’ve navigated through the world of RV slide-out toppers, we’ve covered their importance, the benefits they offer, what needs to be considered when thinking about purchasing one, the tools needed, and a step-by-step guide to installation and maintenance. These simple yet effective devices play a crucial role in protecting your recreational vehicle from the unpredictable challenges of Mother Nature.
Now, equipped with this knowledge, it’s time for you to consider investing in a slide-out topper for your RV. It’s not just about enhancing your RV’s lifespan, but also about enjoying a hassle-free and comfortable RVing journey. With a variety of options available in the market, you can easily find one that suits your needs and budget.
Are RV slide out awnings worth it?
RV slide out awnings can be worth it as they provide several benefits, such as protecting the slide out from debris, reducing the amount of dirt and leaves that enter the RV, and preventing water from pooling on top of the slide out. Additionally, slide out awnings can help keep the interior of the RV cooler by providing shade and reducing the amount of direct sunlight that enters through the slide out. Overall, slide out awnings can help extend the lifespan of the slide out and improve the comfort of your RV.
Can you add an awning to a slide out on a camper?
Yes, you can add an awning to a slide out on a camper. It’s a common modification that can provide additional shade and protection from the elements. To do so, you’ll need to purchase an awning specifically designed for slide outs and follow the installation instructions provided by the manufacturer. Make sure to choose an awning that is compatible with the size and style of your camper’s slide out.
Do I need a awning over my slide out?
It is not necessary to have an awning over your slide-out, but it can provide some benefits such as protecting your slide-out from debris, preventing water pooling, and reducing heat buildup inside the RV. Ultimately, the decision depends on your personal preferences and the specific conditions you encounter during your travels.
How do you measure an RV slide out awning?
To measure an RV slide-out awning, follow these steps:
1. Extend the slide-out completely.
2. Measure the width of the awning roller tube from end to end.
3. Measure the height of the awning fabric from the roller tube to the bottom edge of the fabric.
4. Record the measurements in inches or centimeters, noting the width and height.
Note: It’s always recommended to double-check the measurements and consult the manufacturer’s guidelines or instructions specific to your RV awning for accurate measurement and installation.

