Table of Contents
Introduction

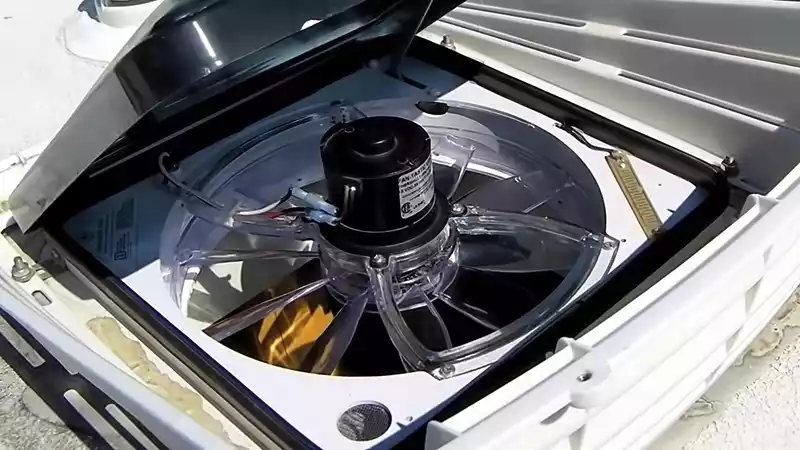
Roof vents are an important part of RV and motorhome maintenance. These specialized RV accessories, which are designed to allow air flow in and out of the vehicle, serve an important purpose: they help control moisture levels inside the camper or trailer. Without roof vents, high humidity levels can cause mold growth and other problems due to trapped moisture buildup. Not only that, but lack of ventilation can also lead to excessive condensation on windows and walls which can cause damage over time if not addressed quickly. For these reasons, that’s why all RV types contain these roof vents in order to protect them from potential water damage.
Importance of RV Roof Vents
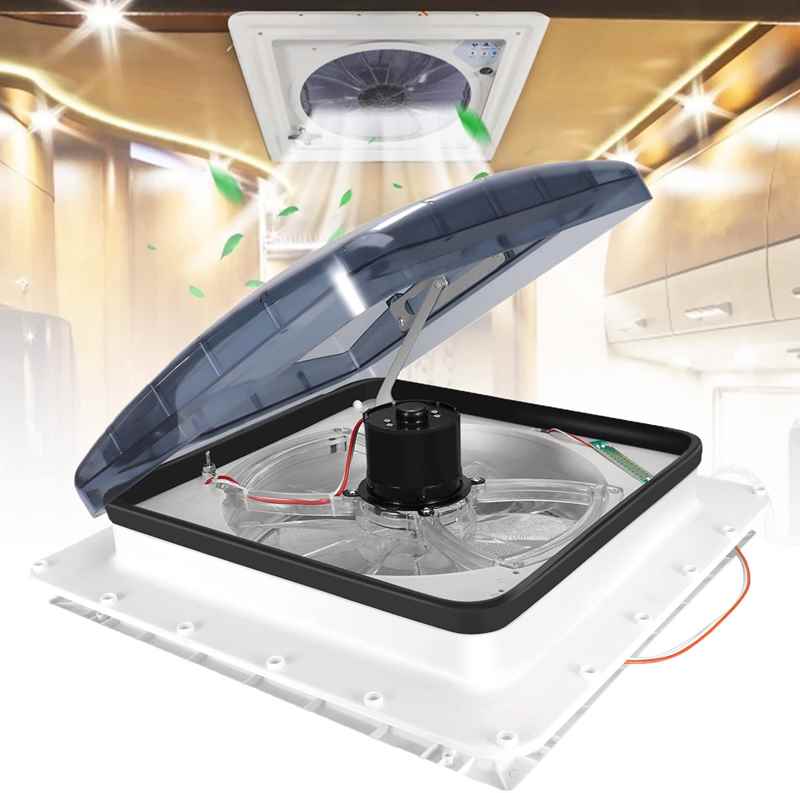
RV roof vents and ventilation fans are essential for proper air circulation in RV and motorhome environments. Without them, the interior environment can become too humid and cause mold growth or other forms of water damage. In addition to this, the moisture buildup caused by poor ventilation can also lead to condensation on windows and walls which can cause long-term structural damage if not addressed. By providing an avenue for warm, moist air to escape from inside the vehicle, roof vents help minimize these issues and keep your camper or trailer safe from potential harm.
Another important benefit of having properly installed RV roof vents is that they help improve overall comfort levels inside the vehicle by allowing fresh outside air into it when needed. This helps reduce stuffiness due to a lack of airflow as well as offsetting some of the heat buildup created by appliances such as ovens and stoves that generate additional warmth indoors. Additionally, adequate ventilation helps prevent odors from lingering inside a camper or trailer so its occupants will be able to enjoy their time spent there without any foul aromas present in the cabin space itself.
Finally, having appropriate roof venting allows RV owners to save money over time since it reduces energy consumption due to improved insulation efficiency. When enough hot or cold air escapes through these devices during extreme weather conditions such as extreme summer heat or winter frostbite temperatures; less energy is consumed while still maintaining comfortable temperature levels within a closed environment like an RV cabin area with minimal cost involved compared with traditional HVAC systems found in residential homes today.
Roof Repair Materials and Options
Butyl Tape is a type of adhesive tape specifically designed for roof repair. It is made up of a butyl rubber compound that adheres to almost any surface and provides superior protection against water damage. Butyl Tape also has excellent UV resistance, making it an ideal choice for outdoor applications such as RV roofs with exposure to direct sunlight. Due to its flexibility and long-lasting nature, Butyl Tape is often used in combination with other materials when repairing leaking or damaged roofs on RVs and campers.

Flat Roofers are professionals who specialize in the installation, maintenance, and repair of flat roofs on homes, commercial buildings, and vehicles such as RVs or camper trailers. Flat Roofers generally have extensive knowledge about the various types of rooftop systems available today including asphalt shingles, metal sheeting, EPDM membranes (ethylene propylene diene monomer), TPO membranes (thermoplastic olefin), PVC membranes (polyvinyl chloride), Modified Bitumen Sheets (MBRS) membrane systems among others. They can advise you on which system will best suit your needs while ensuring that all seams are properly sealed so that no water damage occurs over time due to improper installation techniques or product defects.
RV Roof Kits provide everything you need for quick repairs on your vehicle’s roof without having to purchase individual components separately from different suppliers; making them both convenient and cost effective solutions for addressing issues like small tears or punctures found during routine inspections of an RV’s exterior shell covering material. These kits typically come with a selection of patch tapes in various sizes along with sealant compounds necessary for providing complete coverage once applied onto affected areas; giving owners peace-of-mind knowing that their investment will remain safe from water damage caused by minor damages over time due regular wear & tear experienced through recreational use outdoors every year seasonally speaking per say too then!
Tips for Proper Roof Ventilation

In order to maintain proper roof ventilation, it is important to inspect the vents regularly for any signs of damage and make sure that they are free from debris. Cleaning out the vents and ensuring that they are clear of blockages on a regular basis will help promote air flow while preventing build-up in the system. Additionally, if there has been significant weather or other conditions that have caused wear and tear on your RV’s roof venting components, it is recommended to replace them as soon as possible in order to ensure maximum efficiency.
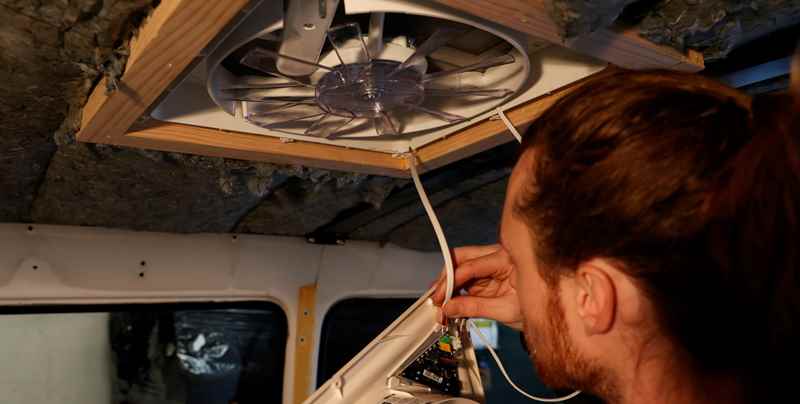
When installing new roof vents, be sure to use sealant specifically designed for this purpose in order to guarantee an effective fit without compromising its integrity over time due to external elements such as wind or rain. It is also important to follow the manufacturer’s instructions carefully when mounting any type of vent onto your vehicle’s rooftop surface so you can rest assured knowing that each component was set up correctly for optimal performance levels down the line.
During summer months especially, it is essential for RV owners with flat roofs on their vehicles (such as many motorhomes) perform maintenance procedures known as “summerization” which involve assessing all parts of one’s camper trailer or other recreational vehicle including its roof ventilation system periodically throughout warmer seasons; checking things like seals around windows & doors along with making repairs where necessary too! This not only helps keep moisture levels regulated inside but also guards against potential water damage resulting from extreme heat exposure outside during these times too then!
Conclusion

In conclusion, proper roof ventilation is one of the most important components when it comes to keeping your RV or camper trailer in top shape. Not only does adequate venting help reduce moisture levels and prevent mold growth inside, but it also promotes energy efficiency due to improved insulation capabilities while providing better overall comfort levels for people spending time inside these vehicles.
Furthermore, regular maintenance such as cleaning out clogged vents and replacing damaged components can go a long way towards preserving their condition over long periods of time; saving owners both money & potential headaches down the line from potential water damage from neglect! Finally, using Butyl Tape or another specialized adhesive along with professional flat roofer services can guarantee that installation & repairs are done properly too so you can enjoy many happy years on the road without any issues whatsoever then!
You can find RV roof vents for Sale on Amazon, at Camping World, or at RV Part Shop
FAQs
Are RV roof vents standard size?
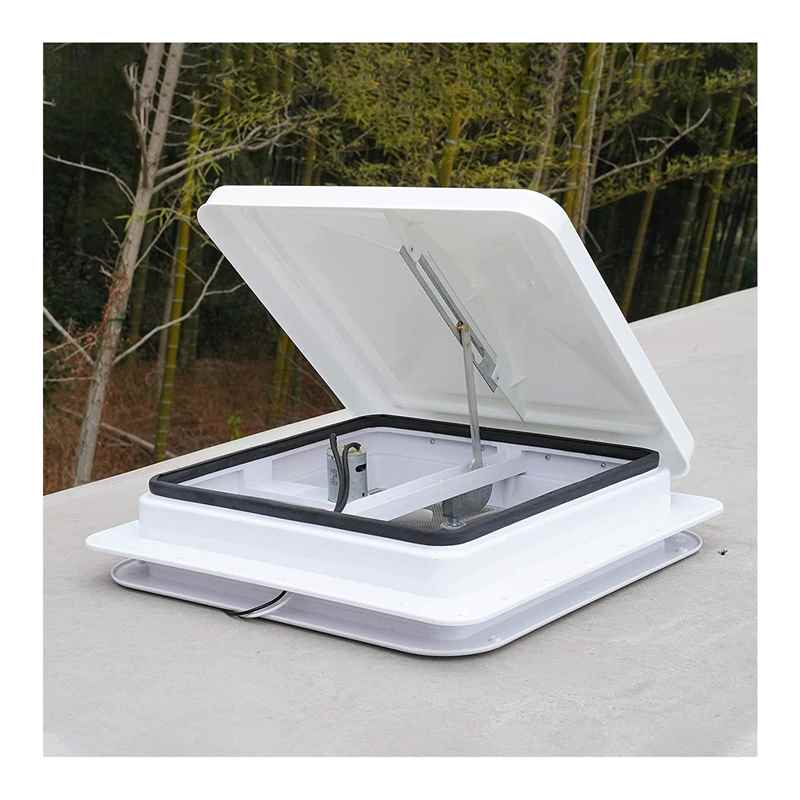
Yes, RV roof vents typically come in standard sizes. The most common sizes for RV roof vents are 14×14 inches and 14×28 inches. This is the size of the cutout hole in the roof. However, if this is an exit vent as may be installed above a truck camper bed for emergency use, they will generally be larger.
How do you replace RV roof vents?
To replace an RV roof vent, follow these steps:
1. Remove the old vent: Unscrew the mounting screws on the inside of the vent and remove them. Then, go to the roof and remove any sealant or caulk around the vent. Carefully lift the old vent off the roof.
2. Clean the area: Clean the roof area where the old vent was located. Remove any remaining sealant or debris to ensure a clean surface for the new vent.
3. Prepare the new vent: Check the new vent for any included gaskets or seals. If necessary, attach them to the vent according to the manufacturer’s instructions.
4. Install the new vent: Place the new vent over the opening on the roof, ensuring it aligns with any existing screw holes. Secure the vent in place by screwing it down using the provided mounting screws.
5. Apply sealant: Apply a layer of RV roof sealant or caulk around the base of the new vent to create a watertight seal. Smooth the sealant with a putty knife or your finger to ensure even coverage.
6. Test for leaks: After the sealant has dried, test the new vent for any potential leaks by spraying water over it or using a hose. Check inside the RV for any signs of water infiltration.
That’s it! You have successfully replaced the RV roof vent.


