Table of Contents
Introduction

Welcome to our journey into the exciting world of RV personalization! If you own an RV or are considering buying one, RV motorhome decals could be the perfect way to add personalized flair to your new home on wheels and really make it YOUR home away from home. RV custom ustom decals are a great way to make your RV stand out and a great way to add a unique charm to your RV.
When it comes to customising your RV, Decals are more than just a giant sticker. These are a way to truly make your home on wheels feel like yours. Whether you are driving across the country or just down the road, these custom RV decals will turn heads and remind everyone who’s coach it really is. Let’s face it, it’s such a good feeling to see heads turn and jaws drop when you get to the campsite with your personalised RV.
In this blog, we’ll delve into everything you need to know about replacement decals for RV’s. We will cover what sticker-like decals are and the benefits you will get from them. We will then touch on designing your own custom decals for your RV and how to apply them to your coach. Finally, we will discuss how to keep your new custom decals in great shape so your RV can look like the best one around. So, Without further ado, let’s jump right into the great world of custom RV Decals!
Understanding RV Installed Decals
Before we go in-depth about picking the perfect custom decals for your RV, it is important that we discuss what these RV decals are. In the context of RVs, decals directly apply to the exterior of your RV with a strong adhesive. These Sticker-like designs are a great way of giving your RV a more personal touch, as well as turning heads as you drive by.
As we previously mentioned, decals are essentially stickers designed for outdoor use. They’re made from durable, weather-resistant materials like vinyl, which can withstand the elements while maintaining their vibrant colours. These designs come in all kinds of different shapes, styles, and colours to match what you want the outside of your rig to look like. The best part, you can put just about anything on your RV with these decals, from a simple logo or design to a carefully designed mural. There are no limits to the imagination that can be put into these custom decals.
When it comes to types of custom decals, there is a broad spectrum available in the market:
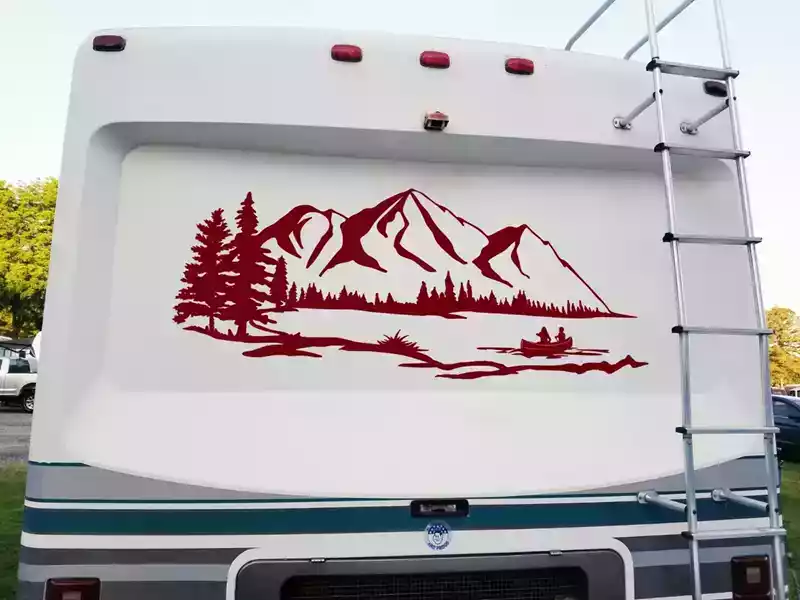
- cut vinyl decals: These decals provide a slick-looking design that looks like it was a design that was made with the RV. With NO background, you won’t have to worry about a black or white background that shows off that it’s a decal in a more obvious way. These durable decals are pre-cut shapes or text made from single-color sheets of vinyl.
- vinyl wraps: If you are looking to have your coach stand out in a big way, these custom decals might be the way to go. The vinyl wraps are made large enough to cover a good chunk of your RV, if not, the entire coach.
- static cling decals: If you are looking for a short-term option or want to test your designs first, a static cling decal is a great temporary option. These decals are, in fact, giant stickers that can be applied to a smooth surface and be removed easily.
Before you decide to go ahead and start ordering RV decals directly, it is important to take a few more factors into account. keep in mind, you might want this design to be a permanent addition to your RV. With that said, make sure to consider the complexity of your design and your budget. After all, it sure would be a waste of time and money if it didn’t come out the way you wanted.
Benefits of Personalising Your RV Exterior with Custom Decals

You might be wondering if custom decals have any real benefits to them. The truth is, the benefits go a lot further than it seems. Let’s take a look at some of the real benefits these decals can bring for you and your RV.
Aesthetic Appeal of Custom RV Decals
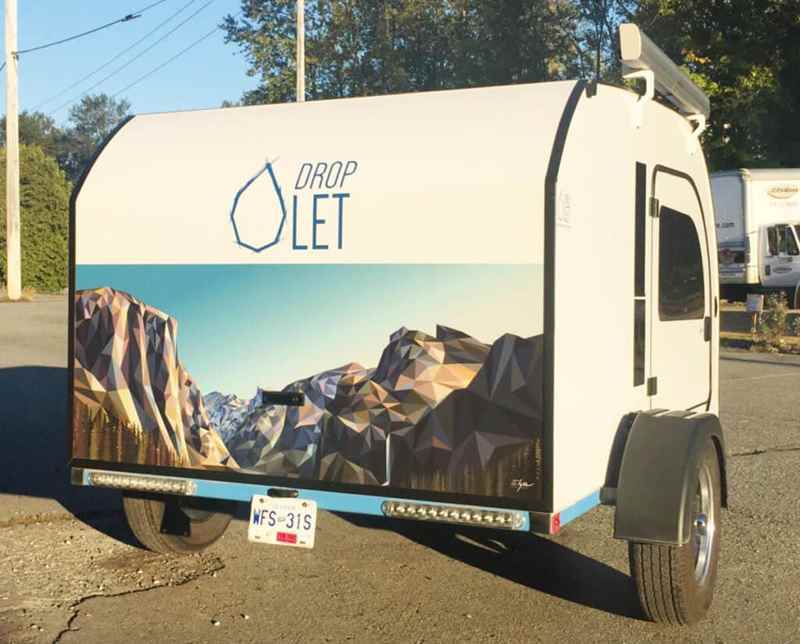
Firstly, let’s talk about aesthetics. Custom decals can significantly amplify the visual appeal of your RV. These decals allow you to add your own personal designs that you otherwise wouldn’t see from an RV that is straight out of the factory. Maybe you want some cool flames going down the side, or maybe a personal design that reflects some importance in your life. These are designs that you simply can’t get from an RV that’s brand new.
Making Your RV Identifiable and Unique with Decals
With this level of appeal comes an even greater level of making your RV more identifiable and unique. When you think about it, there are thousands of people around the world who have the exact same RV as you. You might arrive at a campsite with multiple of the same RV’s in the same park. These custom RV decals can allow your coach to stand out from the rest and leave a last image in the minds of RV owners of your unique RV.
Increasing RV Resale Value
There is the common issue that making changes to things can decrease their value. Although this can be true in some cases, RV Decals actually have the potential to increase their value. A well-maintained RV with high-quality, tasteful customization is often more appealing to prospective buyers compared to standard models. This is the case with more generic RV decals. When you get into RV decals that have a personal meaning behind it, you might have a harder time, as not everyone will have the same feelings towards the design. However, those who do are often will to pay extra to acquire a coach with these meaningful designs.
Steps to Design your Custom RV Decals
Now that you have a better understanding of what custom RV stickers and decals are and your options, the fun part of making your design begins. This step allows you to really use your imagination and do what you want to do, without needing to look at pre-made RV decals that don’t have the same effect.
Brainstoring Your Design
The first step in your RV decals journey is to brainstorm your ideas. This stage is all about what you want and using the imaginative and creative side of you. Maybe you want something with a more personal touch to it, like a symbol or quote that represents your family. If not, maybe you just want something to have your RV stick out from others, like some cool-looking designs or patterns. The possibilities are endless, so don’t be shy to let your imagination run wild.
Sketching Out Your Ideas
Once you have an idea in your head, it is time to bring that idea to life by sketching it out. This can be a very rough drawing to start. This will help you get a better idea of how the design looks and if it’s how you imagined it. Of course, not everyone is an artist. If this is the case for you, there are many online design tools to help keep your design looking as clean as it can. Another option is getting a family member, friend, or an outside artist to draw up some drafts for you to choose from.
Choosing the Right Colors, Fonts, and Images
Once you see your design on paper or on a screen, there might be some changes you’d like to make to it. it might be something small like the colour, or maybe the font style or image should be changed. We recommend having a few different options to choose from. This will help make sure you are 100% satisfied with the design and that you are ready to bring it to life.
How to Apply Custom Decals on Your RV Exterior
Now that you have made your design, ordered, and received it, it is time to apply it to your RV. A custom RV decal requires precision, patience, and the right tools. However, it is not something that is super hard and the end result will give your RV a fresh new look.
A Step-By-Step Guide on How to Apply Replacement Decals for RVs
Firstly, you’ll need to gather the necessary supplies for RV decals kits:
- your decal
- a squeegee (or credit card)
- masking tape
- A pair of scissors
- a tape measure
- a spray bottle filled with soapy water.
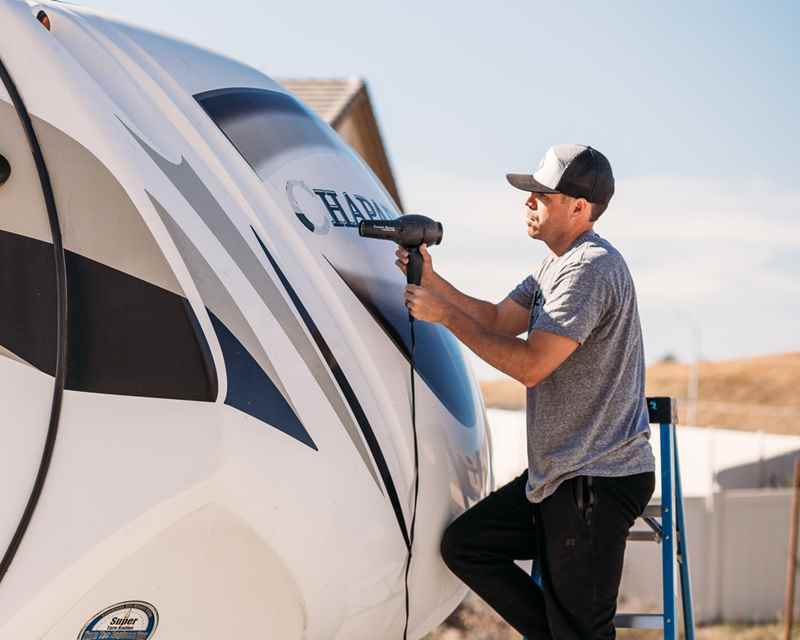
Start by Cleaning the area of your RV where you will be placing the decal. This area should be free of any dirt, dust, or anything else that could potentially affect the placement of the decal. Next, grab your tape measure and masking tape and mark the area where you will be placing the decal. This will help guide the placement for the decal, as well as keep it straight.
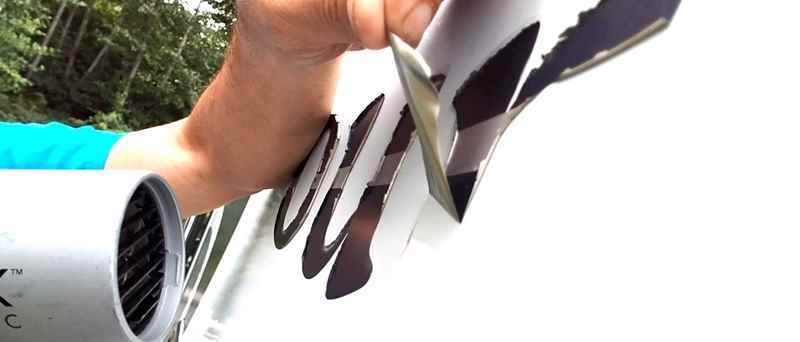
Now that you have the location on your RV marked with tape, the next step is to gently peel off the paper on the back of your RVdecal. make sure to not touch the sticky side of the decal, as it could lessen its ability to stock and leave a sticky mess on your fingers. Alight your decal with the masking tape you have placed on your RV and lightly press it onto the RV’s surface.
Next, use your Squeegee or credit card, and start to slowly press into the surface, starting from the middle of the decal. This will remove any air bubbles within the decal. Finally, gently remove the tape from the surface of your RV. Since the sticky side of the decal hasn’t fully dried, make sure to do this without moving the placement of your decal.
Now that you have completed these steps, take a step back and enjoy the view!
Tips on Ensuring the Decals Stick Properly and Last Longer
Now that you have custom decals on your RV, this is just the beginning of the final job. These decals require some care after putting them on. Firstly, avoid having the RV decals in harsh weather elements for at least 24 hours. This will give enough time for the adhesive to dry and bond with your RV’s surface.
Of course, Everyone needs to wash their RVs at some point, and this can become a bit trickier with a new decal. To start, gently wash with a non-abrasive cleanser on the decal area. Although it might be easy to do, avoid using a pressure washer on the decal, as it can cause the edges of the decal to peel up. Finally, regularly apply a silicone-based spray to the decal. This spray will add an extra layer of protection to your new addition to your coach.
Dealing with Peeling or Fading RV Decals

Despite putting in all the time and effort into keeping your new RV decal looking brand new, your investment might start to peel over time. Before you panic, this doesn’t mean your decal is ruined. In fact, there is a very simple process to fix this peeling.
If you do notice that your RV decals are starting to peel, the key is to not make it any worse, so avoid pulling and picking at the peeling areas. Instead, your local auto store should sell clear decal-setting solutions. simply apply this to the back of the peeling areas and gently push these areas back to the surface of your RV.
Fading on the other hand is a different story. Unfortunately, exposure to sunlight can lead to fading of the design and its colours. If this does occur, it is more than likely time to have your decal redone or replaced. With your new decal, try to park your RV in a shaded area, or apply a small cover to the area where the decal is placed.

Conclusion: Bring Your Imagination to Life With Decals for RV Motorhomes
As we bring this blog to a close, you now have a better understanding of what custom RV decals can do for you and your RV. Throughout this journey, we have covered what custom RV decals are and the benefits they bring to you and your motorhome. We then covered the steps to designing your own custom decal and the steps to apply it to your RV. Finally, we made sure to leave some tips for maintaining your new RV decals to keep them in the best shape.
Every detail you decide on, from size, colour, shape, etc., is a chance to put a personal spark to your RV and get a chance to make your motorhome stand out from the rest. As we’ve discussed, the process doesn’t have to be complex or daunting. With a bit of planning, a dash of creativity, and some patience, you can completely revolutionise the look of your RV. Just remember, there is no right or wrong way to go about your custom RV decals., This is your opportunity to showcase what makes you, you.
So, with all this information on custom RV decals, are you ready to get started? never be afraid to let your imagination run wild with your designs and ideas. It’s not just about having your RV stand out and look cooler than the rest, it’s about turning your home on wheels into a personal reflection of who you are.


